Best 5 Software to Remap Mouse Buttons  Logtiech gaming software Almost all computer users are aware that clicking the left mouse button selects, clicking the right mouse button reveals the context menu, and clicking the wheel scrolls. The scroll wheel on most mice has a third button that does not have a default function but performs different functions based on the software you are using. Chrome, for example, lets you close tabs, open new tabs, and auto-scroll after clicking the middle mouse button. Mouses with more buttons can be more expensive and/or more premium. With the software that is designed for the mouse, you can assign different functions to the buttons. A company that makes this software will typically only support their own mice, so Razer or Corsair mice cannot be used with Logitech software. It will also help your free auto clicker run smoothly. While most companies provide software support for their mice, there are some mice that are more generic or come from a manufacturer that hasn't developed its own software. If that's the case, you will need to find another way to customize mouse button actions since Windows does not offer any built-in options. You can assign various predefined actions to your mouse buttons in 5 different ways here. 1. Mouse Manger Mouse Manager would be useful if you have a four- or five-button mouse. Free and easy to use, it allows you to set any key or combination to the fourth and fifth buttons. Mouse Manager doesn't have a lot of advanced commands or actions that you can choose from and is easy to use. In addition to the left, right, and middle (scroll wheel) buttons on your mouse, the fourth and fifth buttons are also called extra buttons. 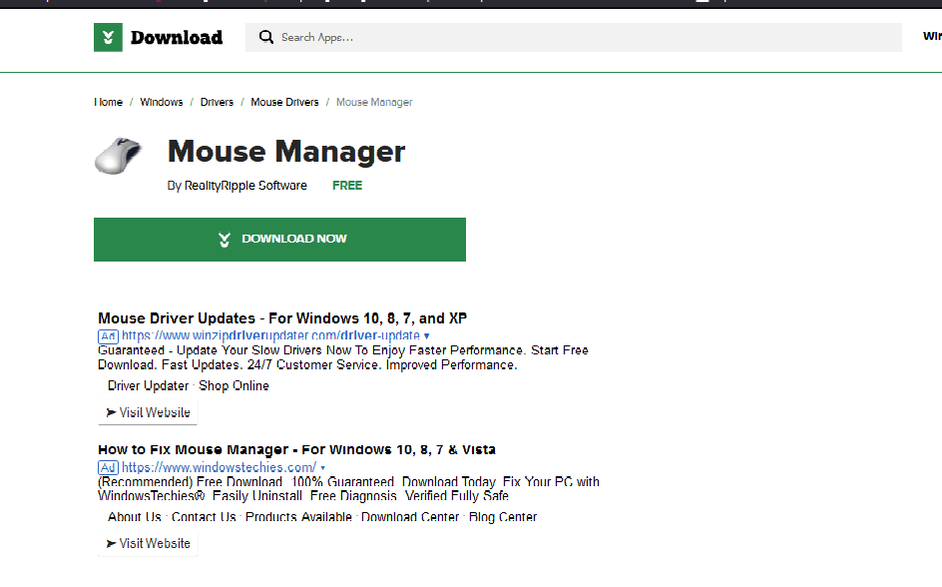 Mouse manager profiles Adding a new profile is as simple as clicking Add and entering your keys, text, or combination into the box, shortcuts like Ctrl+V are supported. With Mouse Manager, you can create multiple profiles so that you can switch between different combinations when you please. You can create a new profile by simply clicking Add. You can access and select profiles from the Mouse Manager tray icon menu. 2. X-Mouse Button Control Mouse button customization tool X-Mouse Button Control is probably the most popular on the internet. This program is free, portable, and has no limitations in terms of functionality. You can add specific applications, as well as open processes and open windows, to be monitored by X-Mouse Button Control. Besides the three main mouse buttons, buttons four and five, the scroll wheel, and the left/right tilt wheel are also supported. 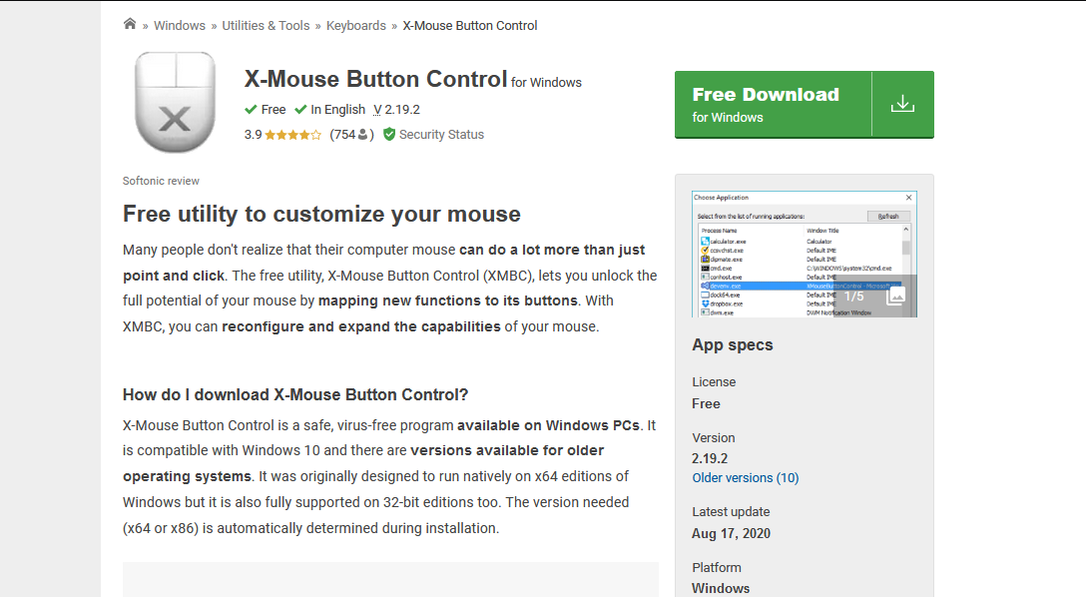 X-mouse button control There are around 100 different actions available for each button in the drop-down menu. You can adjust mouse button actions by simply swapping or disabling them, simulating keystrokes, controlling button chords and hold actions, manipulating windows, Explorer commands, Windows settings, internet browser commands, sticky buttons, and even slowing down the cursor. Each main profile can have up to 10 layers, which are different sub-profiles. Miscellaneous options can be configured, such as changing the mouse speed, hotkeys for switching between layers, etc. For inexperienced users, the X-Mouse Button Control can seem quite overwhelming, but you only need to click a few buttons to get started. Here's the quick tutorial for x-mouse button control. This will help you to completely unsderstand the basic concept and setting to ramap mouse button 3. HydraMouse The HydroMouse software allows you to assign actions to mouse buttons. The free version of HydraMouse is almost as good as the shareware version. There is only one major restriction: you cannot add new entries to the application list after the 30 day trial period has ended. Although HydraMouse can still be purchased, it appears that the program has long since been abandoned, the last version dates from 2011. 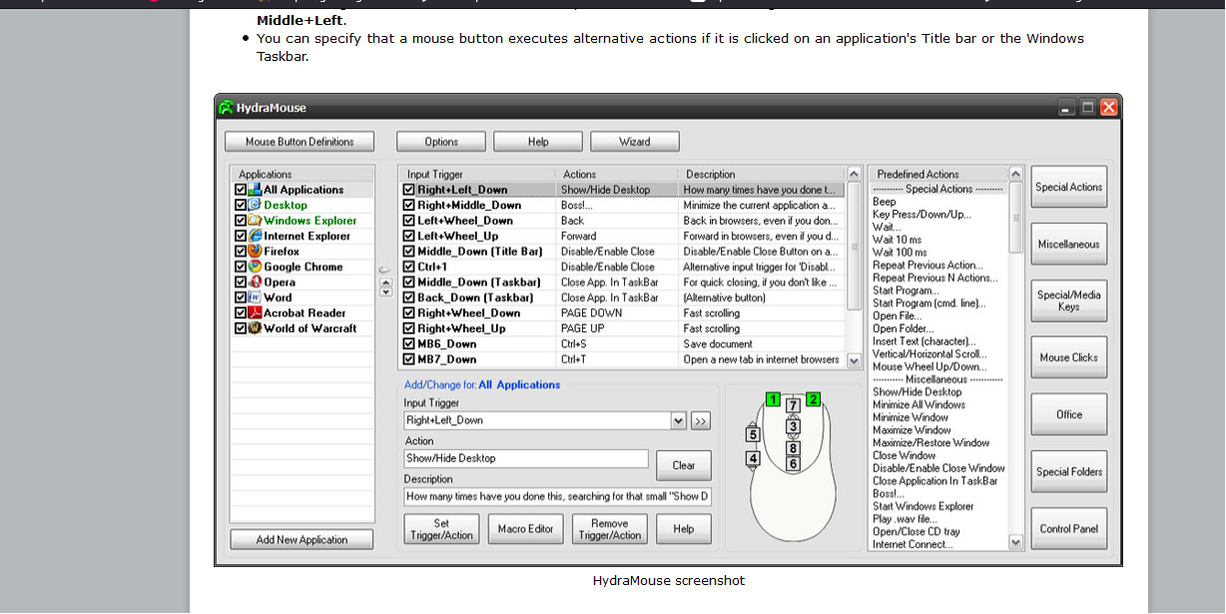 Hydramouse Among the 100+ predefined actions included in the program is the ability to open files, folders, and programs, as well as My Pictures, copies, pastes, cuts, and saves, while other shortcuts open CD trays, minimize/maximize the screen, etc. It is quite impressive to see the list of actions. It is very easy to remap the button of one application to another simply by selecting it from the list, clicking the input trigger box, and pressing the desired button, clicking the action box and pressing the desired button, and then pressing Set Trigger/Action. Furthermore, you can create complex sequences of actions using the HydroMouse macro editor, which allows you to execute them instantly. 4. ClickyMouse ClickyMouse was created in 2015 and has since been replaced by another program called Macro Toolworks. Alternatively, Macro Toolworks also offers a free version, however, we found ClickyMouse to be more user-friendly and reliable when it comes to assigning mouse buttons. This program can be set up, but it is more tricky to set up if you just want to perform something as simple as disabling or remapping mouse buttons 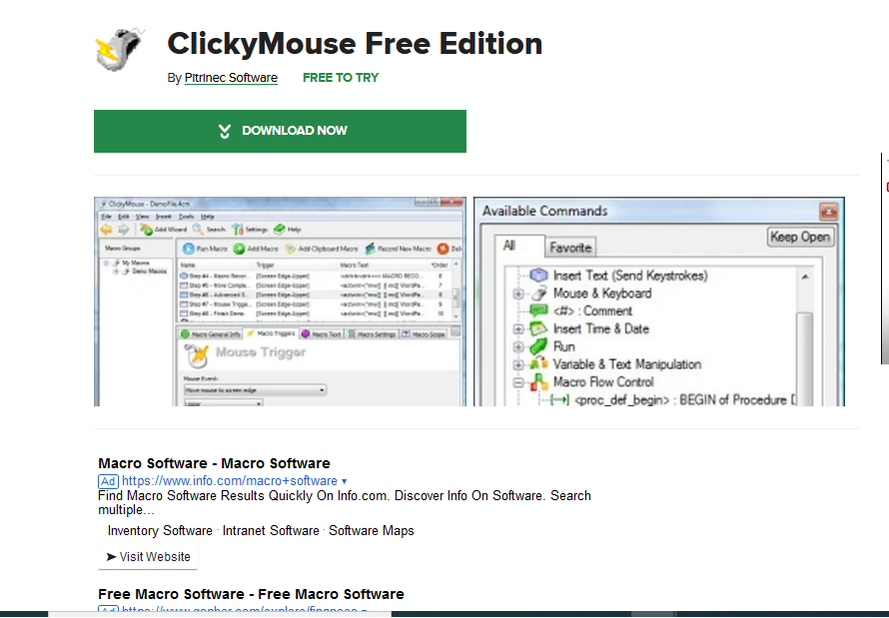 Clickymouse You can also trigger actions simply by clicking the mouse button, by holding the mouse button down, vibrating the mouse horizontally or vertically, scrolling the mouse wheel forward or backward, or by moving the cursor to the edge or corners of the screen. There are five mouse buttons supported by ClickyMouse: left, right, middle, and X1 and X2. You must first create a simple macro to assign one mouse button. Select the Macro Triggers tab and click an event, such as "Mouse button click". From the drop-down menu, select which button triggers the macro. Adding a Button Down and Button Up command is then done by clicking on the Macro Text tab, then clicking on Add CMD. If you learn how ClickyMouse works, you will be able to control it with your mouse in some pretty complex and advanced ways. 5. Remap Mouse Buttons with AutoHotkey Using AutoHotKey is a simple task if you just want to remap one mouse button to another, disable a mouse button or disable/reverse the scroll wheel. The AutoHotKey scripting language isn't a user-friendly utility, but it takes advantage of the mouse and keyboard to interact with the program. Install AutoHotKey first. Choose New > "AutoHotKey Script" from the context menu. Be sure to keep the script's extension as ".ahk". Open the script in Notepad by right-clicking on the new file and selecting "Edit Script". 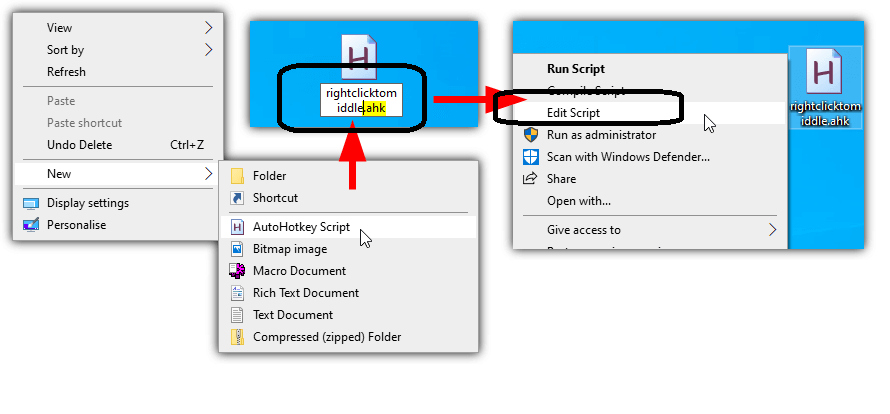 Create autohotkey script The actions in AutoHotKey are LButton, RButton, MButton, XButton1, and XButton2. If your mouse has them, the X buttons are the fourth and fifth buttons. wheel, WheelDown, WheelLeft, and WheelRight (left and right are not guaranteed to work, however) are supported. The syntax in the script is very simple. Type the mouse button/scroll action you want to change on a new line, add two colons, and then type the new action you want to give the button. To disable the button, press Return after the colons. Here are a few examples: MButton::RButton - Right-click actions are performed with the middle mouse button. RButton::LButton – The right button performs left clicks. WheelUp::WheelDown – Instead of scrolling up, scroll down. WheelDown::WheelUp – Reverses the process. The scroll wheel can be reversed using this method and the one above. XButton1::RButton – When the fourth key on the mouse is pressed, a right-click will be performed. XButton2::Return – Turns off the fifth button. RButton::Return – Right-clicking is disabled. 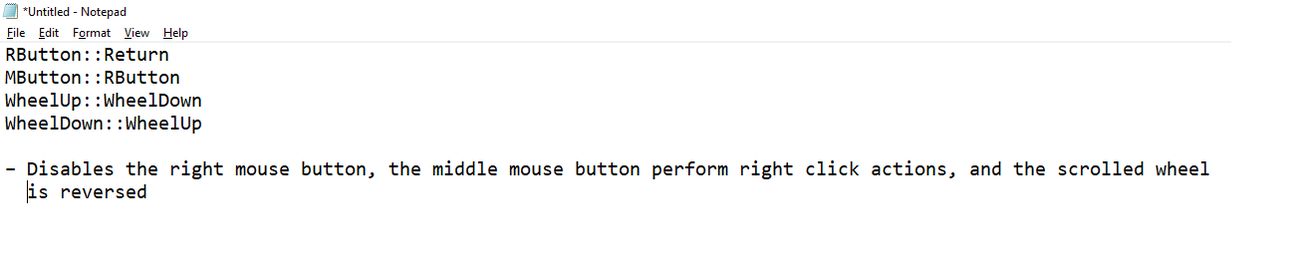 Autohotkey mouse script The script will run when you double-click the file after you have completed the file. Scripts are displayed in the system tray as green icons, and you can right-click on them to perform tasks such as suspending the script (stopping custom mouse actions), modifying the script, or exiting the script. Holding Shift while right-clicking will still open all context menus even if the right mouse button is disabled. In addition to mapping keyboard keys to mouse buttons, AutoHotKey can launch programs/macros with a mouse click and even assign custom mouse button actions to specific programs. For more information, read the AutoHotKey guide.
0 Comments
Leave a Reply. |
 RSS Feed
